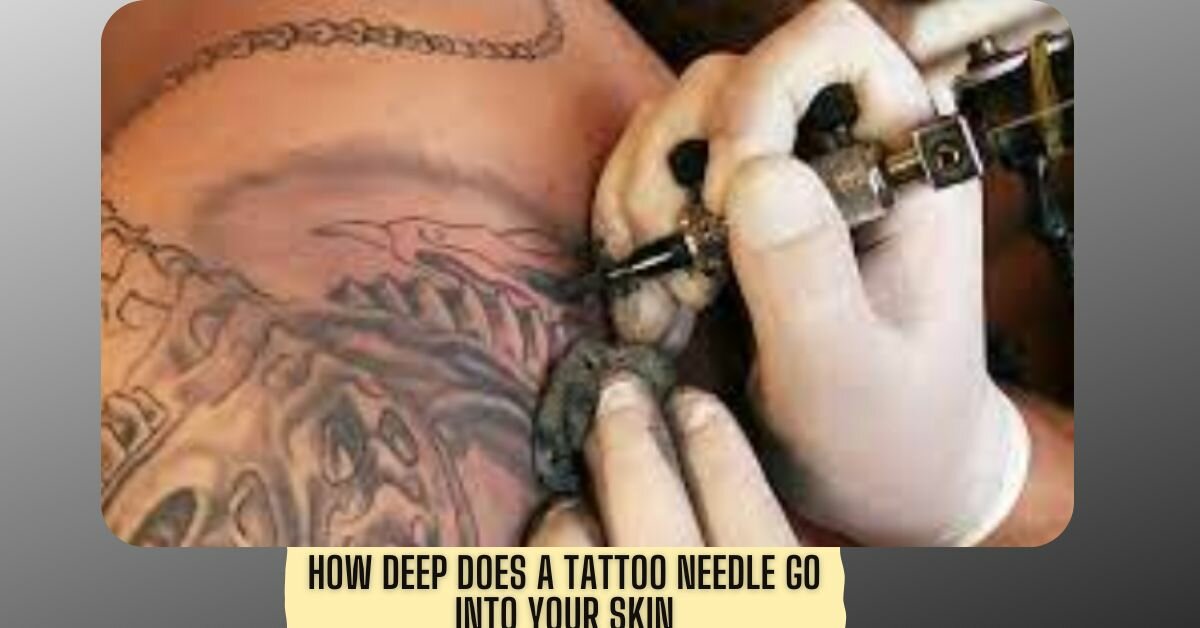
How to set up a tattoo machine is an art and requires a lot of experience and patience. Coil machines offer so many adjustment options that can easily overwhelm you. Fewer variables can be adjusted with a rotary machine than with a coil machine. But again, it is vital to consider the different settings and the tattoo preparation beforehand.
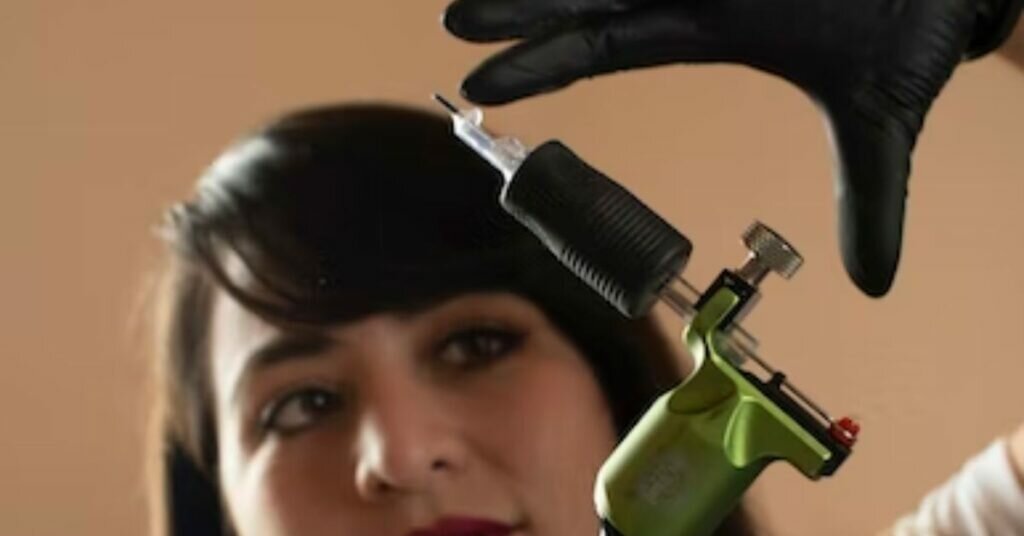
Set up a pen-type rotary tattoo machine.
When it comes to preparing your tattoo machine, hygienic work is critical. Ensure your machine, and all extras are spotless and disinfected. Ensure you clean up and wear clinical gloves. Contingent upon the machine, you can now begin making mechanical changes. Some rotational tattoo machines permit you to change the cam, give (strike power), and change other machine highlights as you would prefer.
You can begin collecting your machine when you have precisely tuned it to your requirements. If you have a pen-type machine, you can pull the link insurance sheath over the machine and seal it toward the end with tape or athletic tape. A few makers offer expendable grasps for their models that permit you to connect the defensive sleeve straightforwardly under the hold utilizing an O-ring. Connect the cartridge to the machine and change the needle result to get everything rolling.
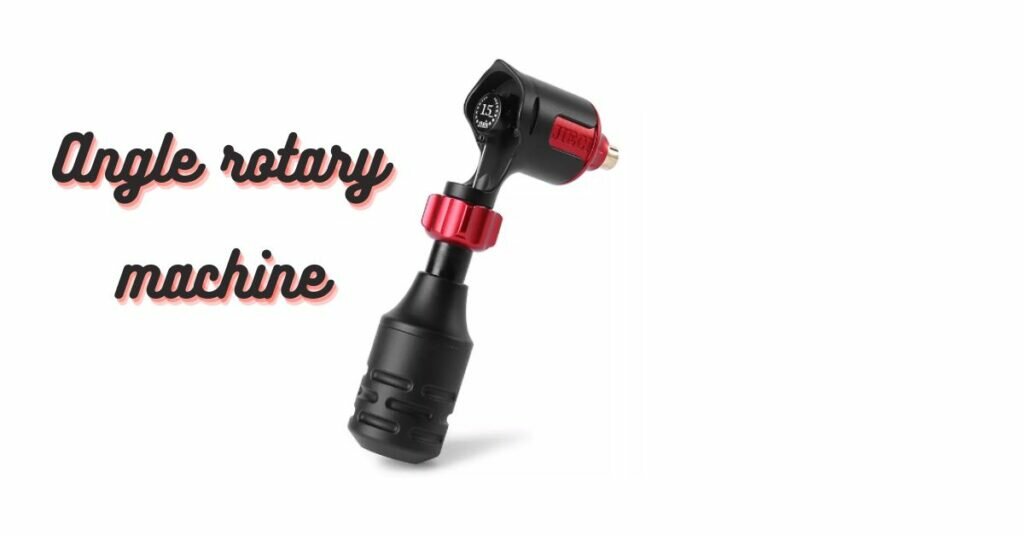
Configure Angled Rotary Tattoo Machine
To change your calculated rotational tattoo machine, you likewise need to ensure your machine is cleaned and disinfected. After washing and cleaning your hands, you can wear clinical gloves and make mechanical changes. Calculated revolving tattoo machines frequently offer choices to change the “sting” qualities of the machine to suit the requirements of the tattoo craftsman. As each machine acts unexpectedly, take as much time as necessary to explore different avenues regarding every one of the settings and track down the ones that work for you.
Once you have set up your machine to work according to your preferences and the tattoo you want to do, you can start assembling it.
If you want to know more about tattoos, read this: What tattoo is right for you?
Traditional needles
If you work with traditional needles, you must first attach the appropriate nozzle to the tube or take a disposable tube with the corresponding integrated nozzle for your hands. Then insert the needle bar after checking that all the needles are not twisted, crooked, or sharp. Now fix the loop at the top of the needle bar on the motor and screw the tube – your machine has support with a screw for this purpose. In the next step, adjust the needle exit. Ensure that the needle does not protrude too much when the machine is at rest and running.
You can now stabilize the needle bar with two rubber bands tied around the machine and the needle bar. This will make your needle movement smoother and allow you to control the vibrations better while tattooing.
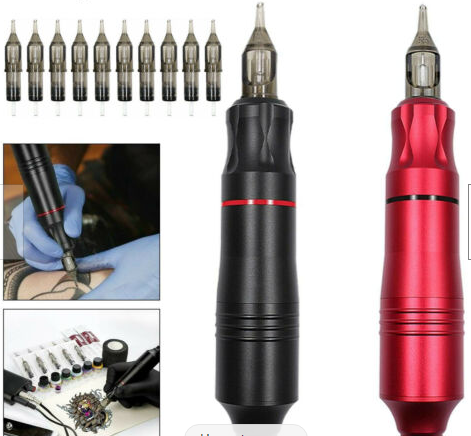
Cartridge Grips
These days, many tattoo specialists work with cartridges. Cartridges can likewise be utilized with calculated revolving and loop machines – with cartridge grasps. These are, in a wrong way, straightforwardly onto the machine and have a bar rather than a needle bar, which communicates the development of the engine straightforwardly to the cartridge.
To attach a cartridge grip, screw it onto your machine, then insert it. You can usually adjust the needle output directly on the cartridge grip. You can also use rubber bands to stabilize the push bar, but it’s unnecessary, as the stroke and leverage to the needles are much shorter with cartridges, and the bar only has an indirect effect on the needles. This means the needle’s operation is smoother than conventional needle bars, even without rubber bands.
Preparing a bobbin machine
To precisely set up a curl machine for a tattoo meeting, you want a ton of involvement and a decent instructor. Contingent upon the machine and the tattoo you need to do, you can make a wide range of settings. You can set the give, change the needle profundity, decide the strike, and even change individual parts to fit the machine to your requirements.
If your tattoo is more mind-boggling and includes concealing and linework, you should use no less than two extraordinarily pre-arranged loop machines.
Steps after choosing a machine:
Whenever you have picked your machines and set them to your inclination and meeting, you are prepared to set up the reel machine. Make sure you have adequately cleaned and sanitized your tattoo machine. The next step is washing your hands, disinfecting them, and then wearing medical gloves.
From now on, you have to work entirely hygienically. To begin with, make sure that you have set the proper distance between the contact screw and the front spring.
Assuming this is right, you can take your cylinder and the needles you will use out of their bundling and assess them. Are the needles accurately organized and not twisted? Are the line and the spout perfect?
When you are sure that your instruments are perfect and the needles are correct, the following stage is to embed the needles (or cartridge) into the cylinder and join it to the machine. When you have effectively screwed the line into the machine and put the needle bar on the feeder, you can put elastic groups around the machine to settle the needle bar.
An ideal way to do this is to utilize two elastic groups that apply even tension and hold the bar back from wobbling. You must join your clipboard to the machine and are practically all set.
Your machine is currently accurately set up and arranged. In the subsequent stage, you should safeguard the machine cleanly with a machine security sack and cover the link with a defensive sleeve. Your loop machine is prepared to utilize, and you can begin inking.
Conclusion
Whenever you have followed this multitude of steps, you can plug your machine into a power supply and begin inking. Continuously guarantee that you work cleanly and as sterile as conceivable to safeguard yourself and your client. After every client, you should clean and disinfect your tattoo machine and set it aside to keep it away from cross-tainting.

![Best Cordless Tattoo Machine: Discover the Top 6 Models for Tattoo Artists [2023]](/wp-content/uploads/2023/03/Best-Cordless-tattoo-machine.jpg)